
Mother’s Day is a special occasion that allows us to appreciate and celebrate the incredible women in our lives. It is a day dedicated to showing love and gratitude to mothers and mother figures who have played a significant role in shaping our lives. One way to express our affection and appreciation is through thoughtful and elegant gift-giving. Mother’s Day hampers have increasingly become a popular choice in Australia, as they offer a unique and personalized way to celebrate this special day.
Understanding the Importance of Mother’s Day
Before delving into the world of mothers day box hampers, it is essential to understand the significance of this day. Mother’s Day has a rich history in Australia that dates back to the 19th century.
The History of Mother’s Day in Australia
The concept of Mother’s Day was first introduced in the United States by Anna Jarvis in 1908 and quickly gained popularity. In Australia, it was officially recognized in 1924 and has since been celebrated on the second Sunday of May each year. It is a day for expressing love and appreciation for mothers, grandmothers, and all maternal figures in our lives.

Why We Celebrate Mother’s Day
Mother’s Day serves as a reminder to acknowledge the sacrifices, love, and support that mothers provide unconditionally. It is an opportunity to shower them with gratitude and make them feel cherished.
Traditions and Customs
Over the years, various traditions and customs have become associated with Mother’s Day celebrations. In Australia, it is common for families to gather for a special meal or picnic to honor mothers. Many children also create handmade cards or gifts to express their love and appreciation.
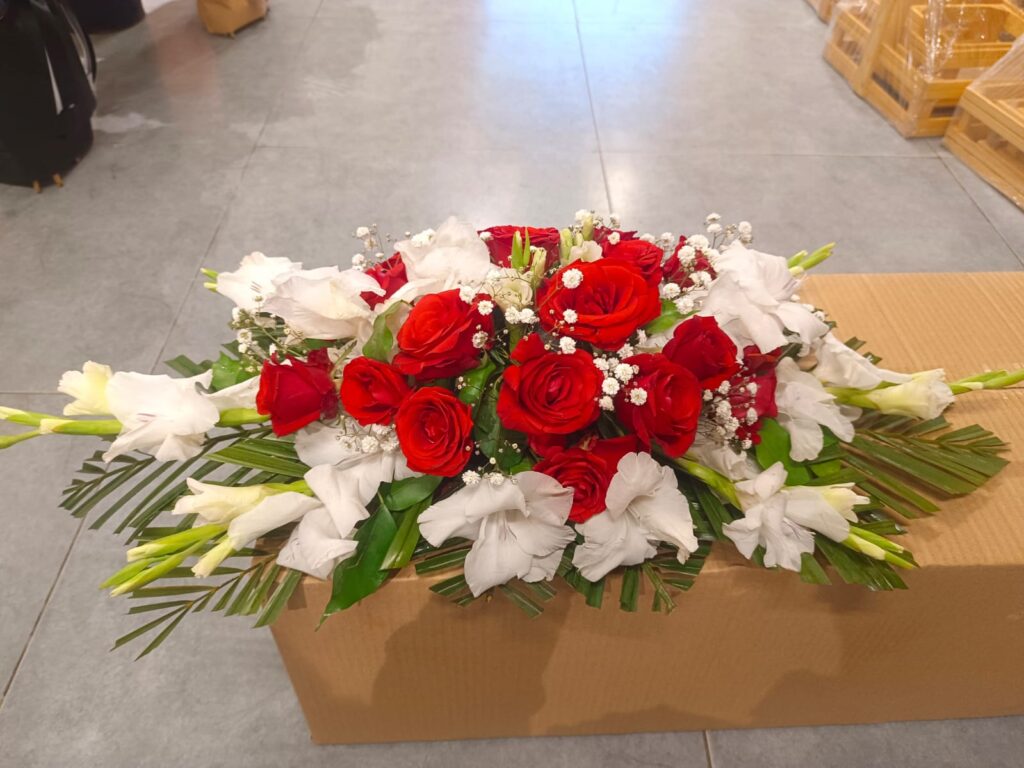
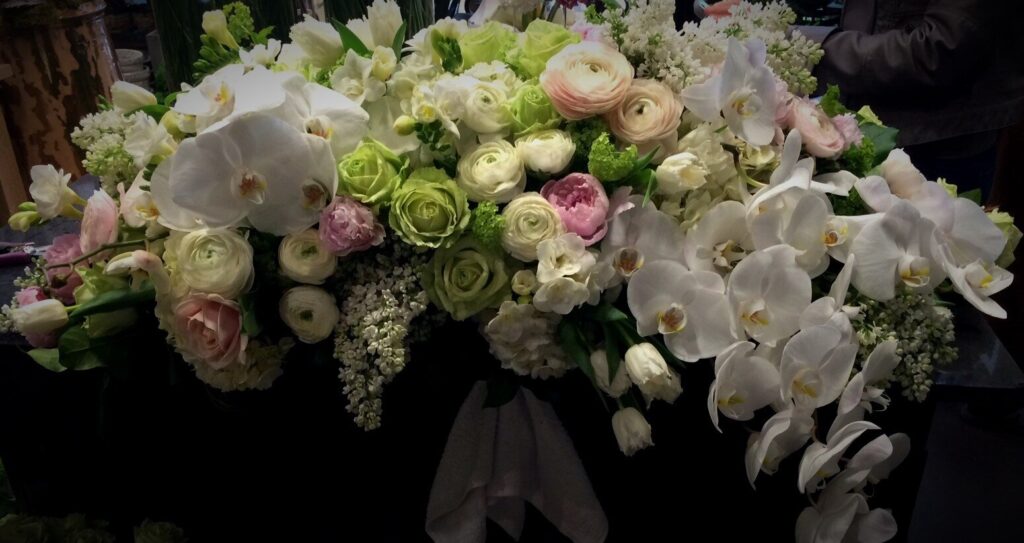
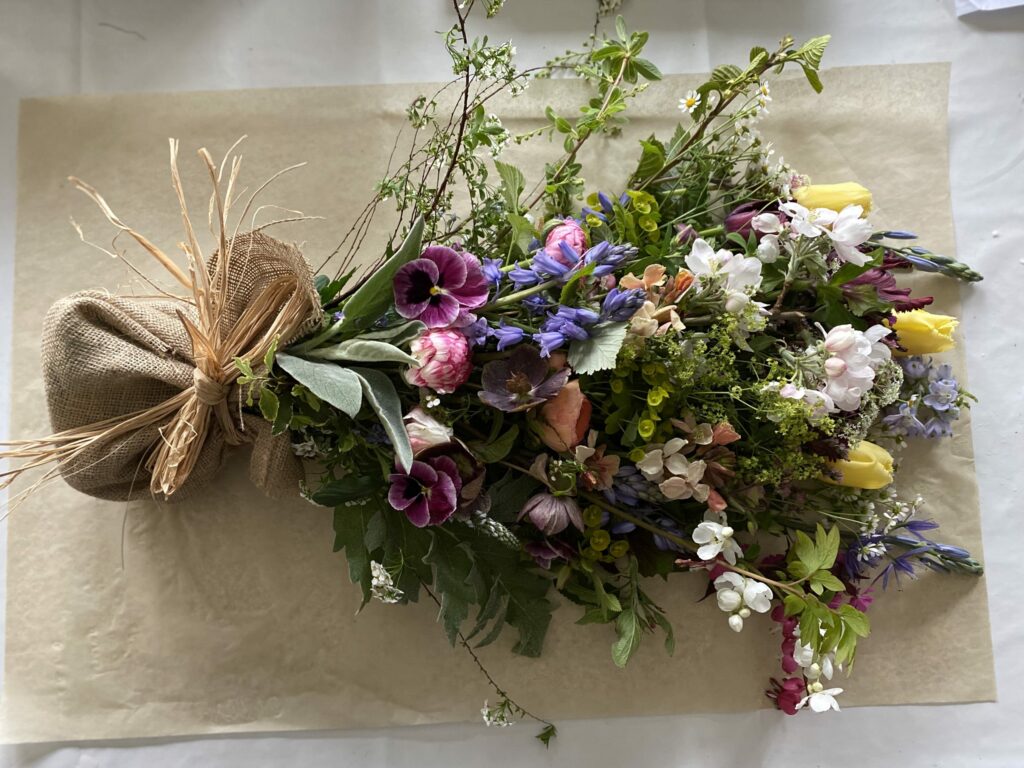
Another popular tradition is the giving of flowers, particularly carnations, which have become a symbol of Mother’s Day. White carnations are often used to honor mothers who have passed away, while pink or red carnations are given to living mothers.
Modern Celebrations
As society has evolved, so have the ways in which Mother’s Day is celebrated. In addition to traditional gifts like flowers and chocolates, many people now opt for experiential gifts such as spa days, weekend getaways, or cooking classes. The focus has shifted towards creating lasting memories and experiences that can be shared with mothers on their special day.
Furthermore, social media has played a significant role in modern Mother’s Day celebrations, with many people taking to platforms like Instagram and Facebook to publicly express their love and appreciation for their mothers. It has become a day not only for personal celebrations but also for sharing heartfelt messages with a wider audience.
The Art of Gift-Giving: Hampers
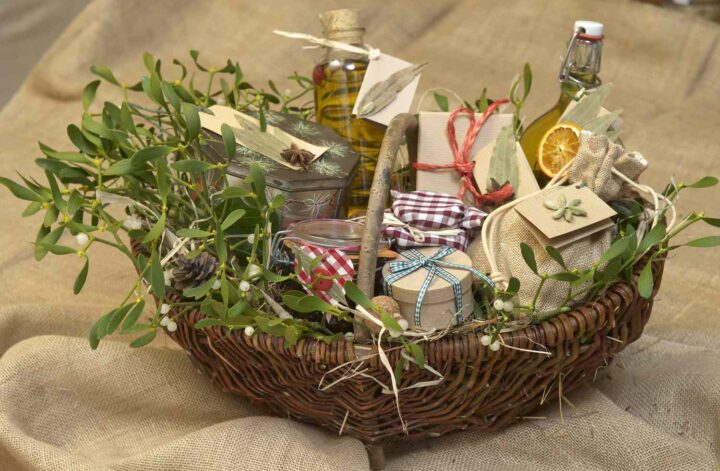
Hampers have long been associated with luxury, indulgence, and thoughtfulness. They have become an ideal choice for Mother’s Day gifts, combining practicality and beauty in one package.
What Makes a Gift Hamper Special
A gift hamper holds a special place in the world of gift-giving. It offers versatility, as it can be tailored to suit the recipient’s preferences and interests. Whether it’s a selection of gourmet foods, a pampering spa experience, or a combination of indulgent treats, a well-curated hamper showcases careful consideration and attention to detail.
Moreover, the act of receiving a gift hamper is an experience in itself. The excitement of unpacking each item, discovering the thought put into the selection, and the anticipation of enjoying the contents add an element of surprise and delight to the occasion. It’s not just a gift; it’s a journey of exploration and enjoyment.
The Elements of a Perfect Hamper
A perfect hamper encompasses a variety of elements. It starts with premium-quality products that are carefully chosen to suit the recipient’s taste. From delectable chocolates to luxurious toiletries, each item is selected to create a memorable and enjoyable experience. Additionally, the presentation plays a vital role in making the hamper visually appealing and truly special.
Furthermore, the personal touch added to a gift hamper enhances its appeal. Including a handwritten note expressing heartfelt sentiments or incorporating unique items that hold special meaning to the recipient elevates the gift to a new level of thoughtfulness. It’s these small details that make a hamper not just a collection of items but a symbol of care and affection.
The Rise of Mother’s Day Hampers in Australia
The demand for Mother’s Day hampers has seen a significant rise in recent years, with Australians recognizing the unique charm and personal touch they bring to this occasion.
The Popularity of Hampers as Mother’s Day Gifts
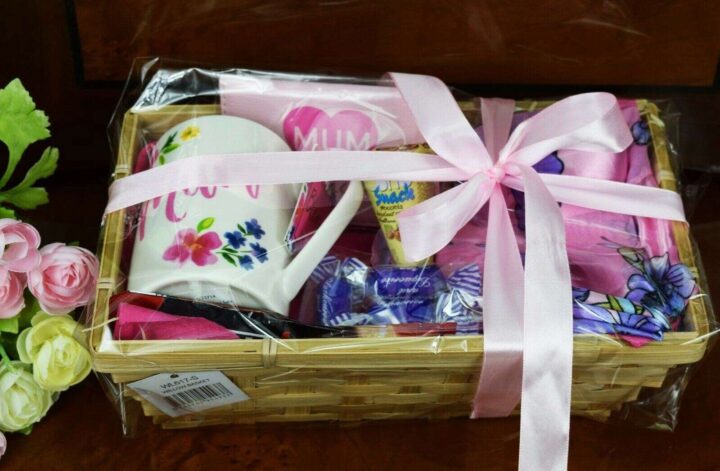
Hampers have gained popularity for various reasons. They offer a convenient way to express love and appreciation, as they come beautifully packaged and ready to gift. Furthermore, hampers cater to a wide range of interests and preferences, making them a versatile option for every mother.
When selecting a Mother’s Day hamper, one can choose from a variety of themes such as spa hampers for relaxation, gourmet food hampers for culinary delights, or even personalized hampers tailored to the specific tastes of the recipient. This customization adds a thoughtful touch to the gift, showing mothers that their preferences and interests are valued.
The Unique Australian Touch in Hampers
The beauty of Australian hampers lies in their ability to reflect the unique characteristics of the country. From locally sourced gourmet products to indigenous-inspired art and crafts, these hampers showcase the diversity and distinctiveness of Australian culture.
Australian Mother’s Day hampers often feature products that highlight the country’s rich natural resources, such as organic skincare products infused with native botanical ingredients or handcrafted items made from sustainable materials. By incorporating these elements, the hampers not only celebrate Australian craftsmanship but also promote eco-conscious practices, aligning with the values of many modern consumers.
Creating an Elegant and Thoughtful Hamper
When it comes to creating an elegant and thoughtful hamper for Mother’s Day, there are a few key factors to consider.
Mothers are often the pillars of strength and love in our lives, making it essential to show them appreciation on their special day. Crafting a hamper filled with carefully selected items can convey your gratitude and affection in a meaningful way.
Choosing the Right Products for Your Hamper
The key to a successful hamper lies in selecting products that resonate with your mother’s tastes and preferences. This could include her favorite gourmet foods, relaxing spa products, or even a bottle of her preferred wine. The goal is to create a tailored experience that will make her feel truly special.
For a mother who enjoys culinary delights, consider including artisanal chocolates, organic teas, or a selection of exotic fruits. If she values self-care and relaxation, opt for luxurious bath salts, scented candles, or a plush robe. Tailoring the hamper to her interests and hobbies will demonstrate your thoughtfulness and attention to detail.
Personalising Your Hamper for Your Mother
In addition to selecting the right products, personalization adds an extra touch of thoughtfulness. Consider adding a handwritten note expressing your love and appreciation. You can also include small tokens or mementos that hold sentimental value, making the hamper a truly unique and cherished gift.
Adding a personalized touch can elevate the hamper from a collection of items to a heartfelt gesture. Incorporating elements that remind your mother of shared memories or inside jokes can deepen the emotional connection and show her how much she means to you. By infusing your hamper with love and personalization, you create a gift that speaks volumes without uttering a word.
Top Picks for Mother’s Day Hampers
Now that we understand the art of gifting hampers, let’s explore some popular options for Mother’s Day.
Gourmet Food Hampers
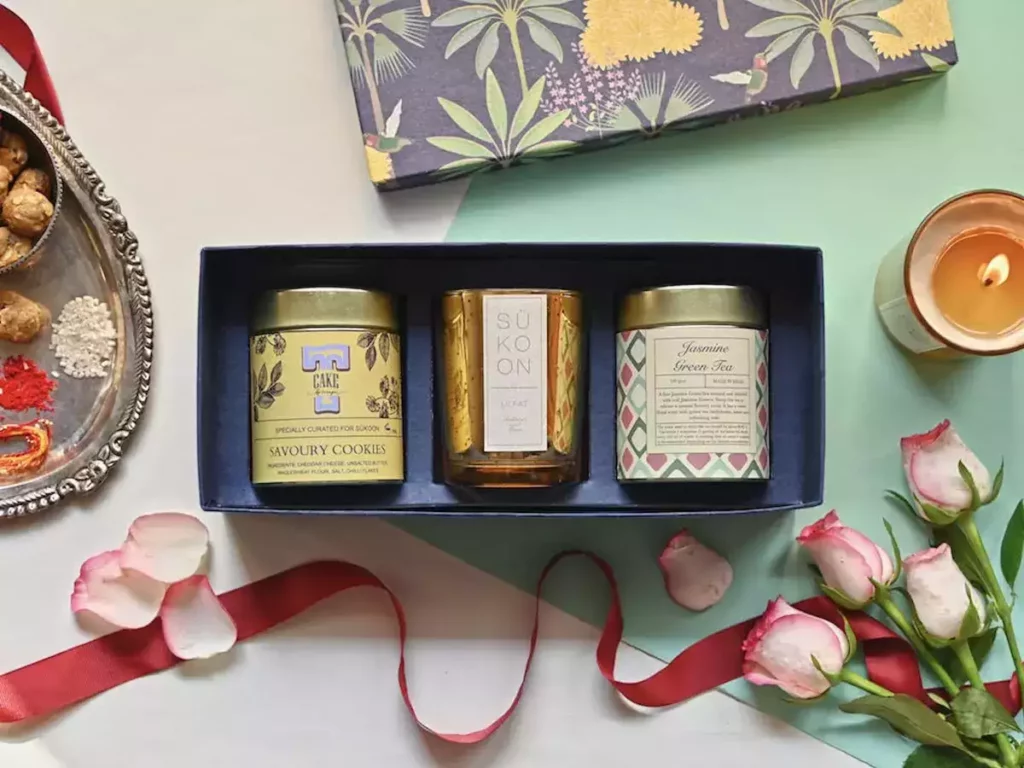
A gourmet food hamper is perfect for the food-loving mother who enjoys indulging in delicious delicacies. It can include an assortment of artisanal cheeses, crackers, chocolates, and premium teas or coffees, ensuring a delightful culinary experience.
Pamper and Spa Hampers
A pamper and spa hamper is designed to provide a luxurious and relaxing experience. It may include high-quality bath products, scented candles, plush towels, and perhaps even a voucher for a spa treatment. This hamper allows your mother to unwind and rejuvenate.
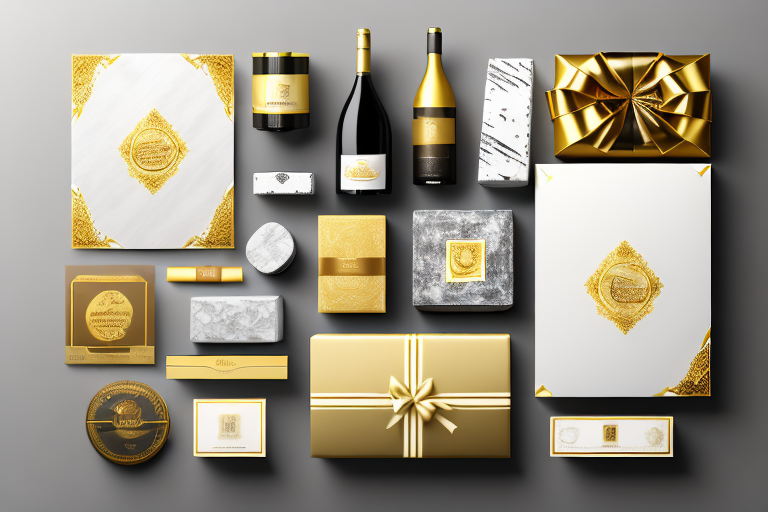
Wine and Chocolate Hampers
For the wine connoisseur, a wine and chocolate hamper is an excellent choice. It can feature a bottle of fine wine paired with an assortment of decadent chocolates. This elegant combination of flavors is sure to impress.
Personalized Gift Hampers
Another wonderful option for Mother’s Day is a personalized gift hamper. This allows you to curate a selection of items that hold special meaning to your mother. You can include handwritten notes, photographs, or even small trinkets that symbolize your unique bond. This thoughtful gesture will surely touch her heart and make her feel cherished.
Wellness and Fitness Hampers
If your mother is health-conscious or enjoys staying active, a wellness and fitness hamper is an ideal choice. It can include items such as fitness trackers, yoga mats, healthy snacks, and motivational books. This hamper will not only support her well-being but also inspire her to continue leading a healthy lifestyle.
By expanding your options beyond the traditional hampers, you can find the perfect gift that aligns with your mother’s interests and passions. Whether it’s a gourmet food hamper, a pamper and spa hamper, a wine and chocolate hamper, a personalized gift hamper, or a wellness and fitness hamper, the key is to curate a selection that reflects your mother’s unique personality.
Remember, Mother’s Day hampers offer a beautiful and thoughtful way to express love and appreciation to the important women in our lives. They combine practicality and elegance, allowing you to create a truly memorable and personalized gift. With an elegant and thoughtful hamper, you can make this Mother’s Day one to remember.
Other resources: Unique Mother’s Day Hamper Ideas to Surprise and Delight Mum